


This tutorial will help with the basics of the Plague Inc. Scenario Creator. If you’re looking for advanced tips, proceed to the next tutorial here
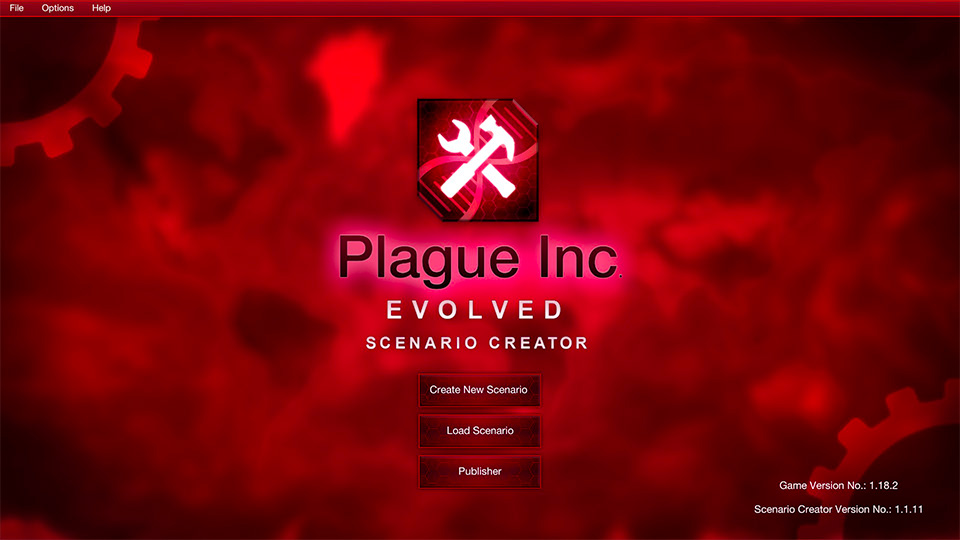
Scenario Creator is included with Plague Inc: Evolved on PC, or can be purchased from the Apple App Store or Google Play for mobile devices. Before you purchase the app, we strongly recommend reading this guide as it can be confusing at first!
Let’s start at the beginning - the Menu Screen.
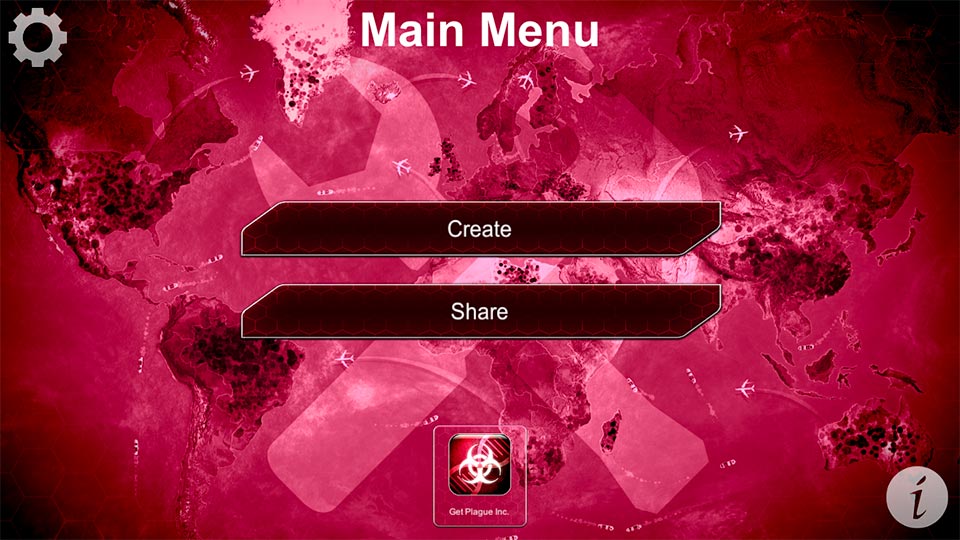
Here, you can “Create” a new scenario, or “Load”, “Publish”, or “Export” an existing Scenario.
Under the “Settings” tabs, PC users can allow “Ndemic Upload”, while mobile users can link an Ndemic Nexus profile. These are required to publish any scenario, so make sure you’re logged in!
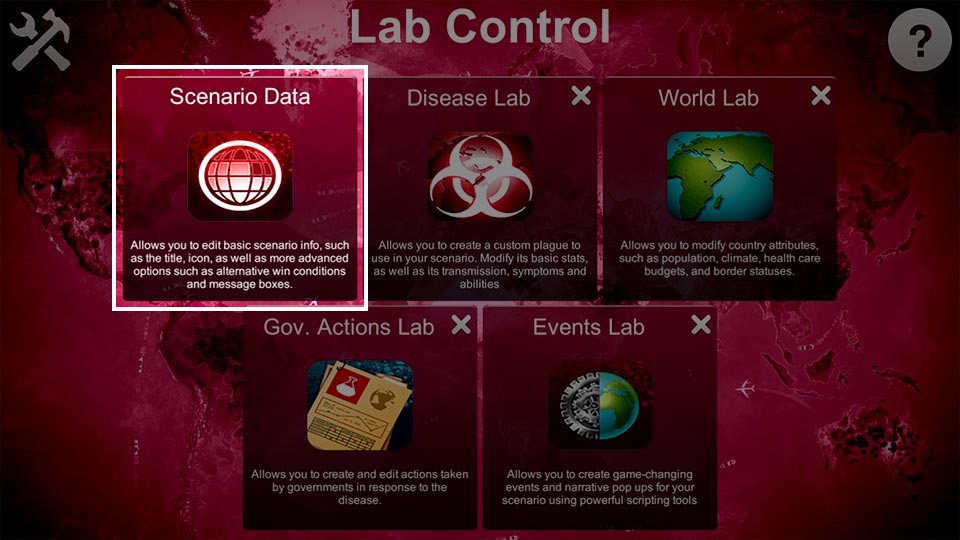
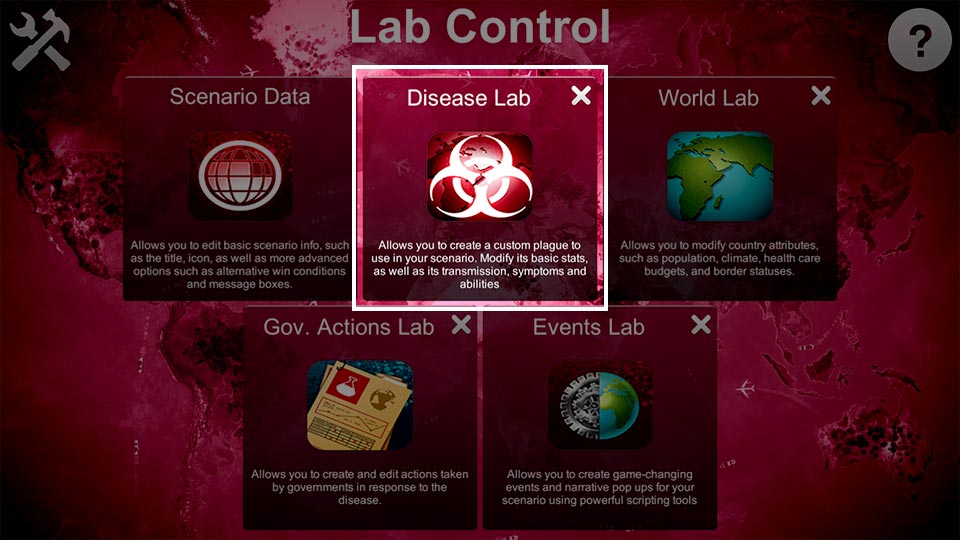
Once you have created a New Scenario, navigate to the “Lab Control” menu.
All the data for your scenario is sorted into one of these labs. For this tutorial, let’s have a look at the ones you’ll be using the most - Scenario Data and Disease Lab.
Scenario Data

The Scenario Data Lab icon
This lab covers the basic data of your scenario. Each lab has the options you can edit grouped by what they do. You can select the different titles down the side of the screen to access these options.
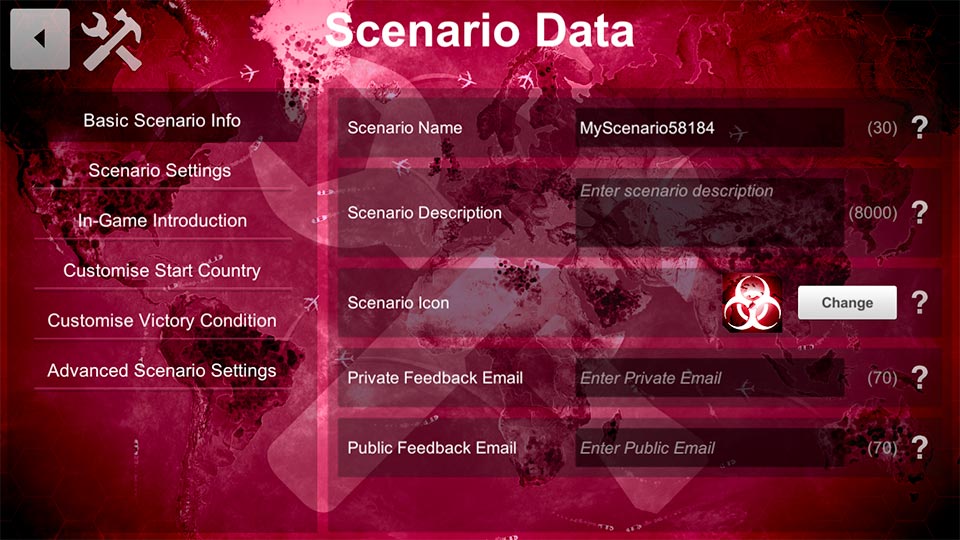
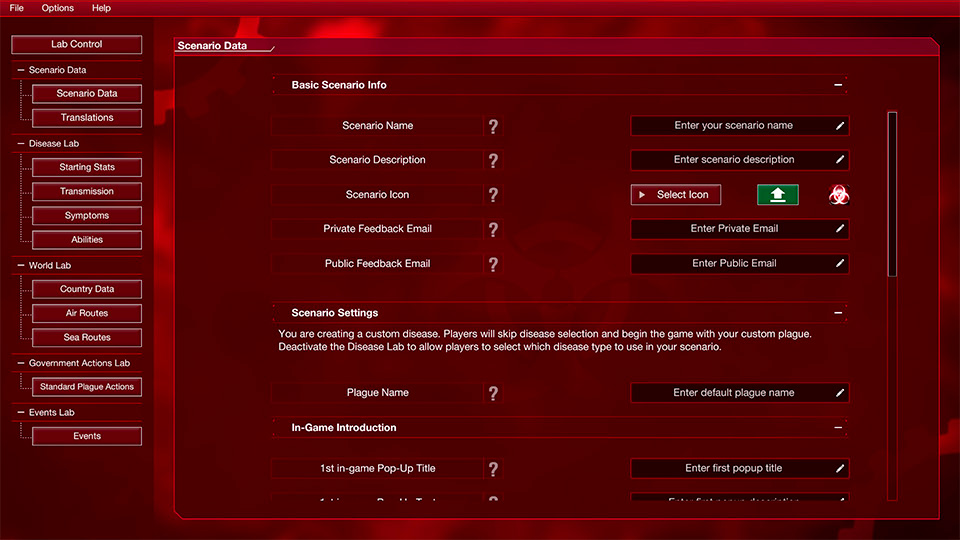
Inside the Scenario Data Lab
The “Basic Info” tab lets you edit your scenario’s name, description, and icon. You can also add a private or public feedback email. A private email lets Ndemic contact you with ratings and download info on your scenario, while a public email allows players to give you feedback. Adding an email isn’t essential, but it could help you improve!
In the “Scenario Settings” tab, you can set a default name for the plague used in your scenario.
The “In Game Introduction” tab allows you to set 2 in-game pop-ups to set the scene. If your bacteria has a bonkers back-story or an unusual ability, this is the best place to tell players about it.
“Customize Start Country” allows you to set a starting country for your players, and “Customize Victory Condition” allows you to create an alternative way to win the game. Maybe your plague doesn’t want to wipe out all life on Earth? Maybe it just wants to be loved, like the Neurax worm?
In the “Advanced Scenario Settings” you can restrict events that aren’t relevant to your scenario, lock your players into a specific difficulty, block gene selection or cheats and set a custom start date.
Do you want this to be a brutal bacteria scenario? Is there a backstory you need those first pop-ups to explain? Pick something unique or exciting - this is how you make your scenario more than just another plague!
Disease Lab
The Disease Lab icon
The Disease Lab lets you customize your pathogen by altering four categories: Starting Stats, Transmissions, Symptoms, and Abilities.
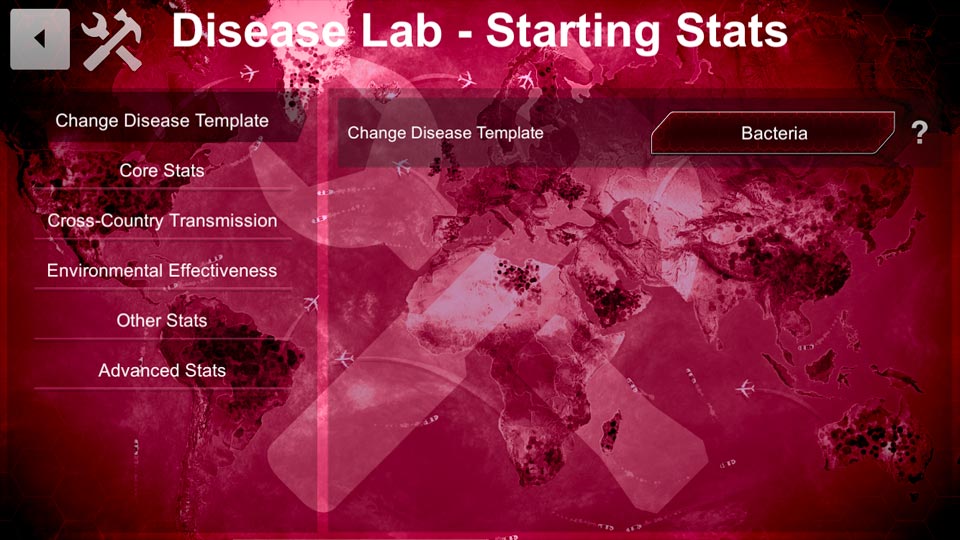
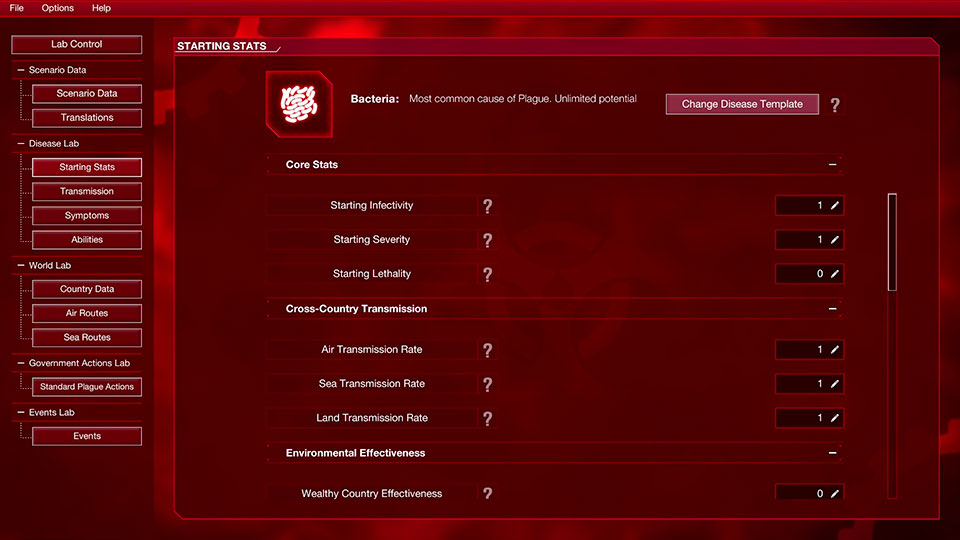
Inside the Starting Stats menu of the Disease Lab
Starting stats has templates of existing plagues to base your pathogen on. Your starting stats will vary between templates, so check how they compare.
You can also set your “Cross-Country Transmission” rates (giving an advantage crossing by land, sea or air) and “Environmental Effectiveness” (effectiveness in rich or poor countries, hot or cold climates, etc.).
The “Other Stats” tab sets how difficult the disease is to cure and how likely it is to mutate symptoms.
All Transmission, Symptom and Ability traits are edited in the same way.
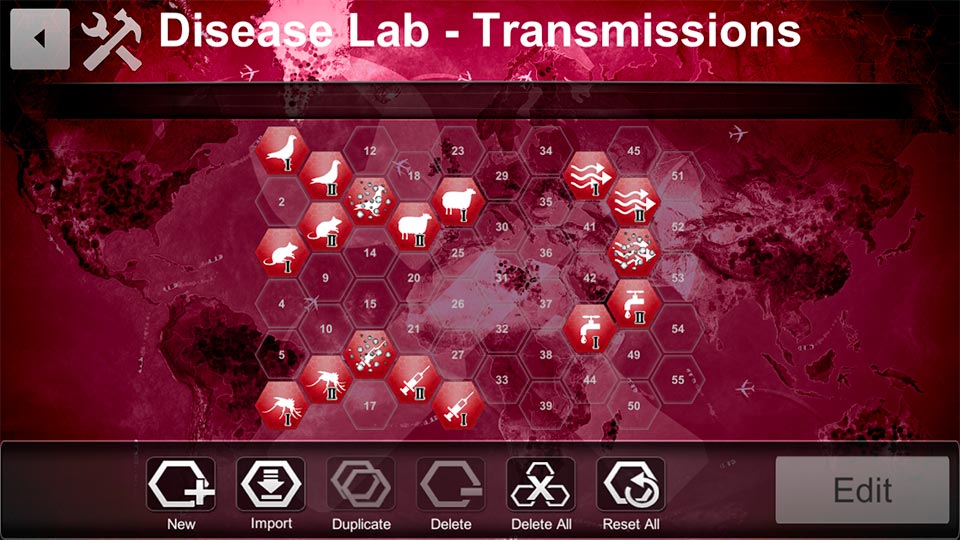
The transmission page in the Disease Lab
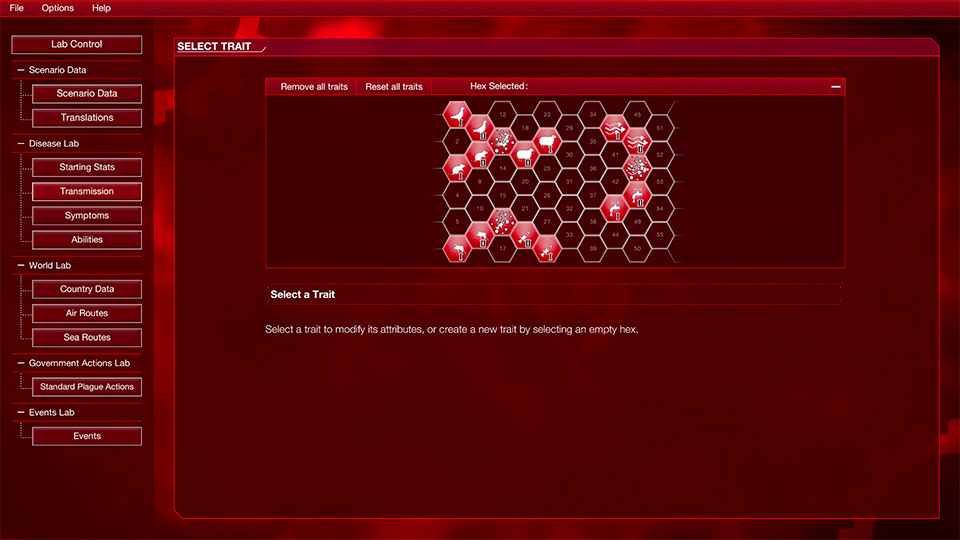
Select the trait icon you want and click “Edit”. Here you can see how this trait impacts your plague.
You can create a new trait by selecting a blank space and clicking “New”, or delete an existing one by selecting it and clicking “Delete”. Select an empty space and click “Import” to choose from a selection of pre-made traits.
Here’s a quick summary of what these options do.
Trait Details: Change the trait’s name, description, cost to evolve, and choose whether to make it a starting trait or dependent on evolving something else. You can change its impact on cross-country transmission stats and cure research.
Trait Icon: Change the icon that represents the trait. Use a .png file that is 78x78 pixels.
Core Stats: Determine how evolving this trait changes the infectivity, lethality, or severity of the plague, and if it changes the likelihood of mutation.
Cross-Country Transmission: Determine how evolving this trait changes how easily the pathogen can be transmitted by land, sea, air or corpses.
Environmental Effectiveness: Determine how this trait changes effectiveness in different countries.
Cure Research: Set how much evolving this trait changes the amount of work needed for a cure.
Special Stats: Set this trait to trigger a spore burst and infect between 0 and 5 random countries, or make the trait a nucleic acid flag. This ability resets lethality temporarily when evolved, but the lethality will rebuild over time. If you want a bacteria with fungal or bio-weapon ability, this is how you do it!
Advanced settings: Decide if the trait is “pre-loaded” (already evolved when players start the scenario), whether it can be devolved or not.
Saving, testing & exporting
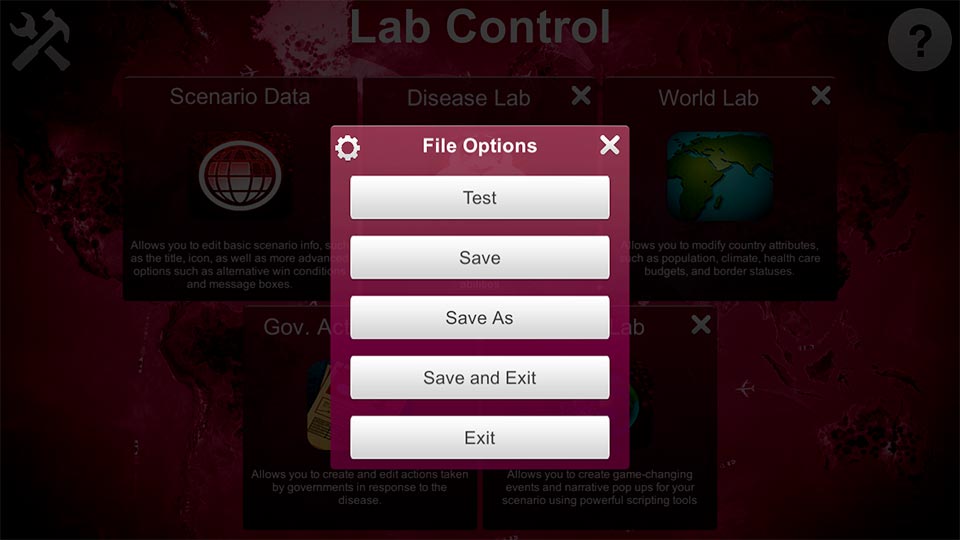
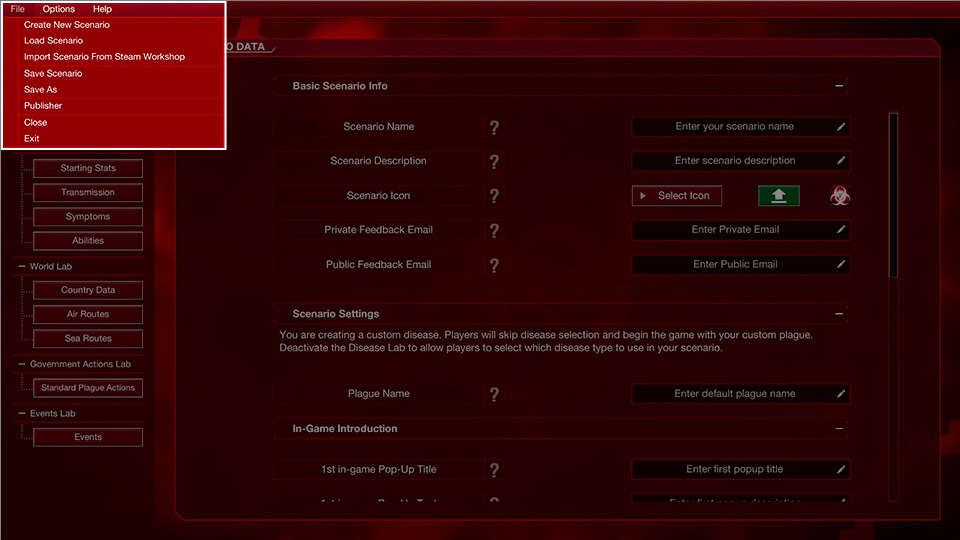
The file options menu on mobile and PC
Head to your file options (in the top left) to save your scenario. Mobile users can tap the icon in the top left and then select “test” on this menu to open your scenario in Plague Inc. and test run it.
On Android, Plague Inc will open automatically. On iOS, you will need to select Plague Inc. from the list of applications suggested.
PC users can also test their scenario by saving and exiting out of Scenario Creator, then accessing the custom scenario menu in Plague Inc: Evolved. Go to the “Local Files” tab, select your saved scenario and click “Play” to test it.
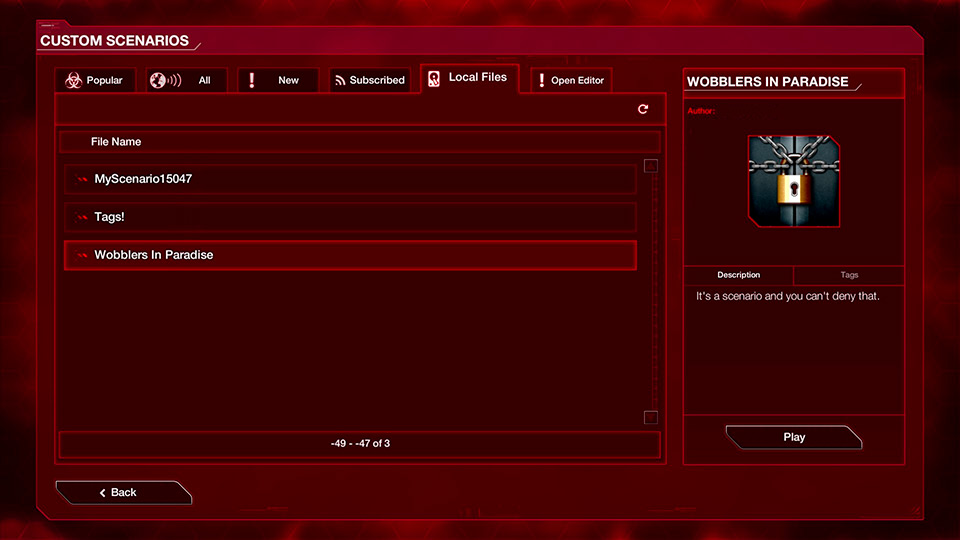 Local Files screen on PC: Plague Inc: Evolved
If you’re on mobile, you can also test how your scenario works on a different platform, or send it to someone else to test. Clicking “Share” on the main menu and then “Export” will allow you to select from any of your saved scenarios. You can then select “Export” to create a .plagueinc file which can be sent to whatever device you want to test on. Ensure that the target device has Plague Inc. Installed. Open the .plagueinc file on this device to open it and test it in the game!
Once you’ve tested and checked that the scenario works, you can go back into the Scenario Creator main menu and click “Publisher” on PC, or “Share” on mobile. Again, make sure you’ve enabled Ndemic Upload under settings if you’re on PC, or you have set up your Ndemic Nexus account on mobile. Then, click “publish” to upload your scenario! Congratulations, contagious crafter, you just made your first scenario!
Now you’re ready to take your scenario to the next level. Check out the intermediate tutorial to learn how to add world-changing events!